
Steps to bulk import new workers
You can start multiple workers by downloading a new worker spreadsheet, entering the required information and uploading the completed spreadsheet to online services.
Before you start
Worker information
If you've previously started new workers online, you may notice that we're asking for more information about new workers than we did in the past.
This is because we're now doing more eligibility checks when workers are first registered. By doing this early, we can make sure we're not registering workers who are not eligible to claim through QLeave. This means we won't risk paying claims to ineligible workers and will be able to maintain the levy rate, so we can continue supporting the industry by paying long service leave claims well into the future.
Log in
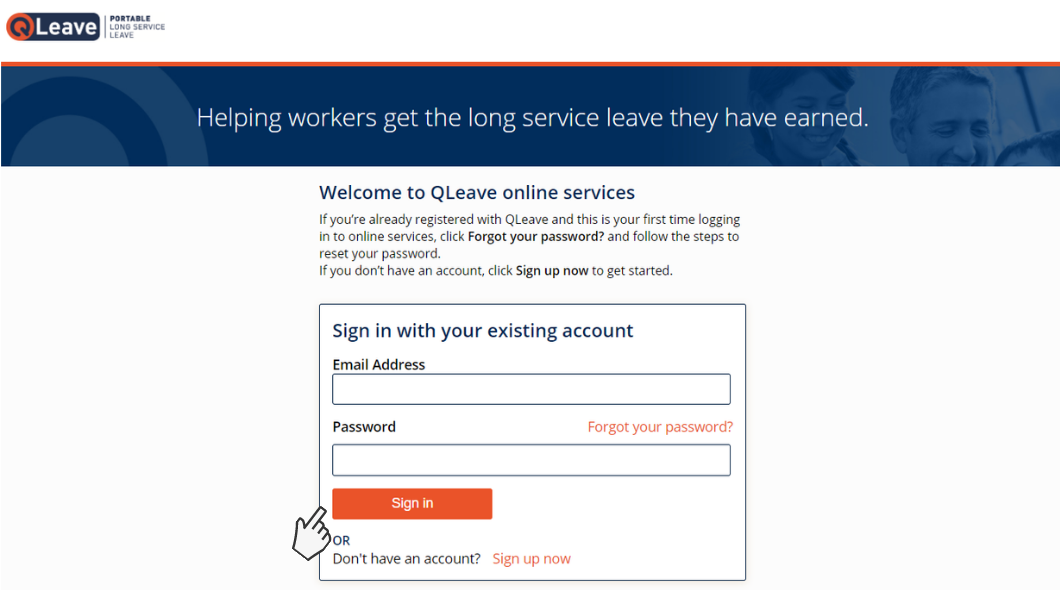
- Go to QLeave online services.
- Enter your email address and password and click Sign in.
- If you don’t know your password, click Forgot your password? to reset it. A verification code will be emailed to you. Click here for help resetting your password.
- Once you've logged in, you'll be taken to the online services home page. From the menu at the top of the page, click Services for Business. If you only want to add one worker at a time, you can do this by selecting Add a new worker from the menu on the right hand side of the page. Click here for instructions on doing this.
Download the spreadsheet template
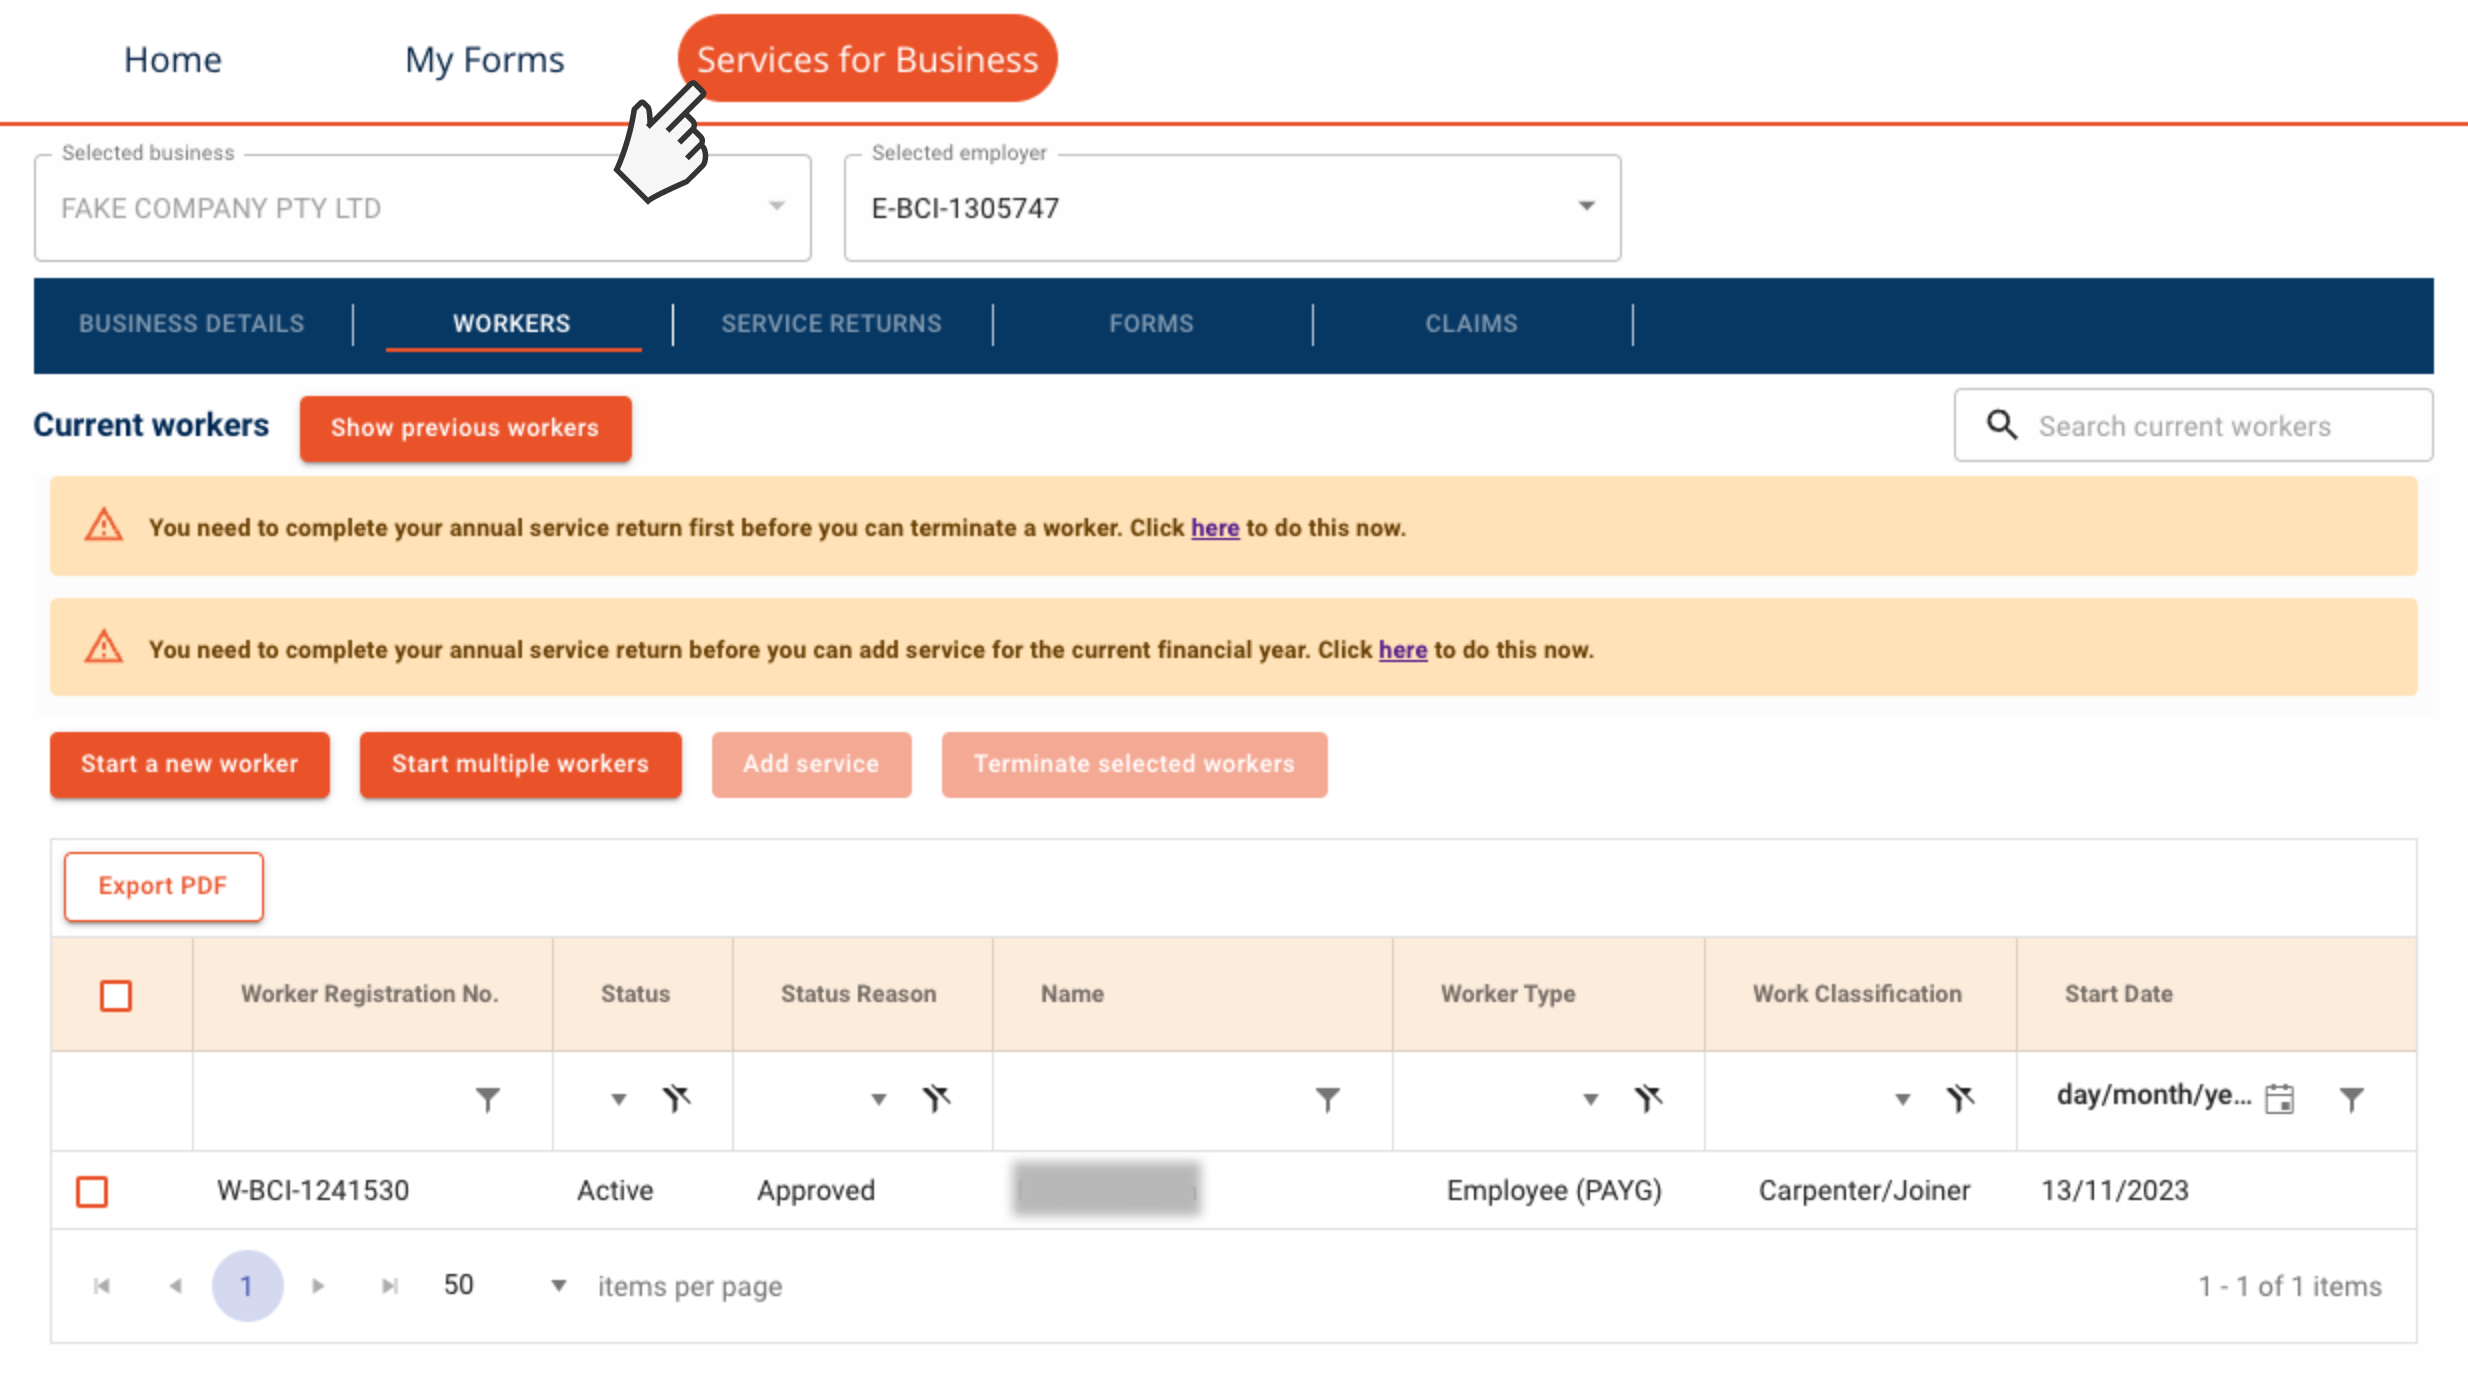
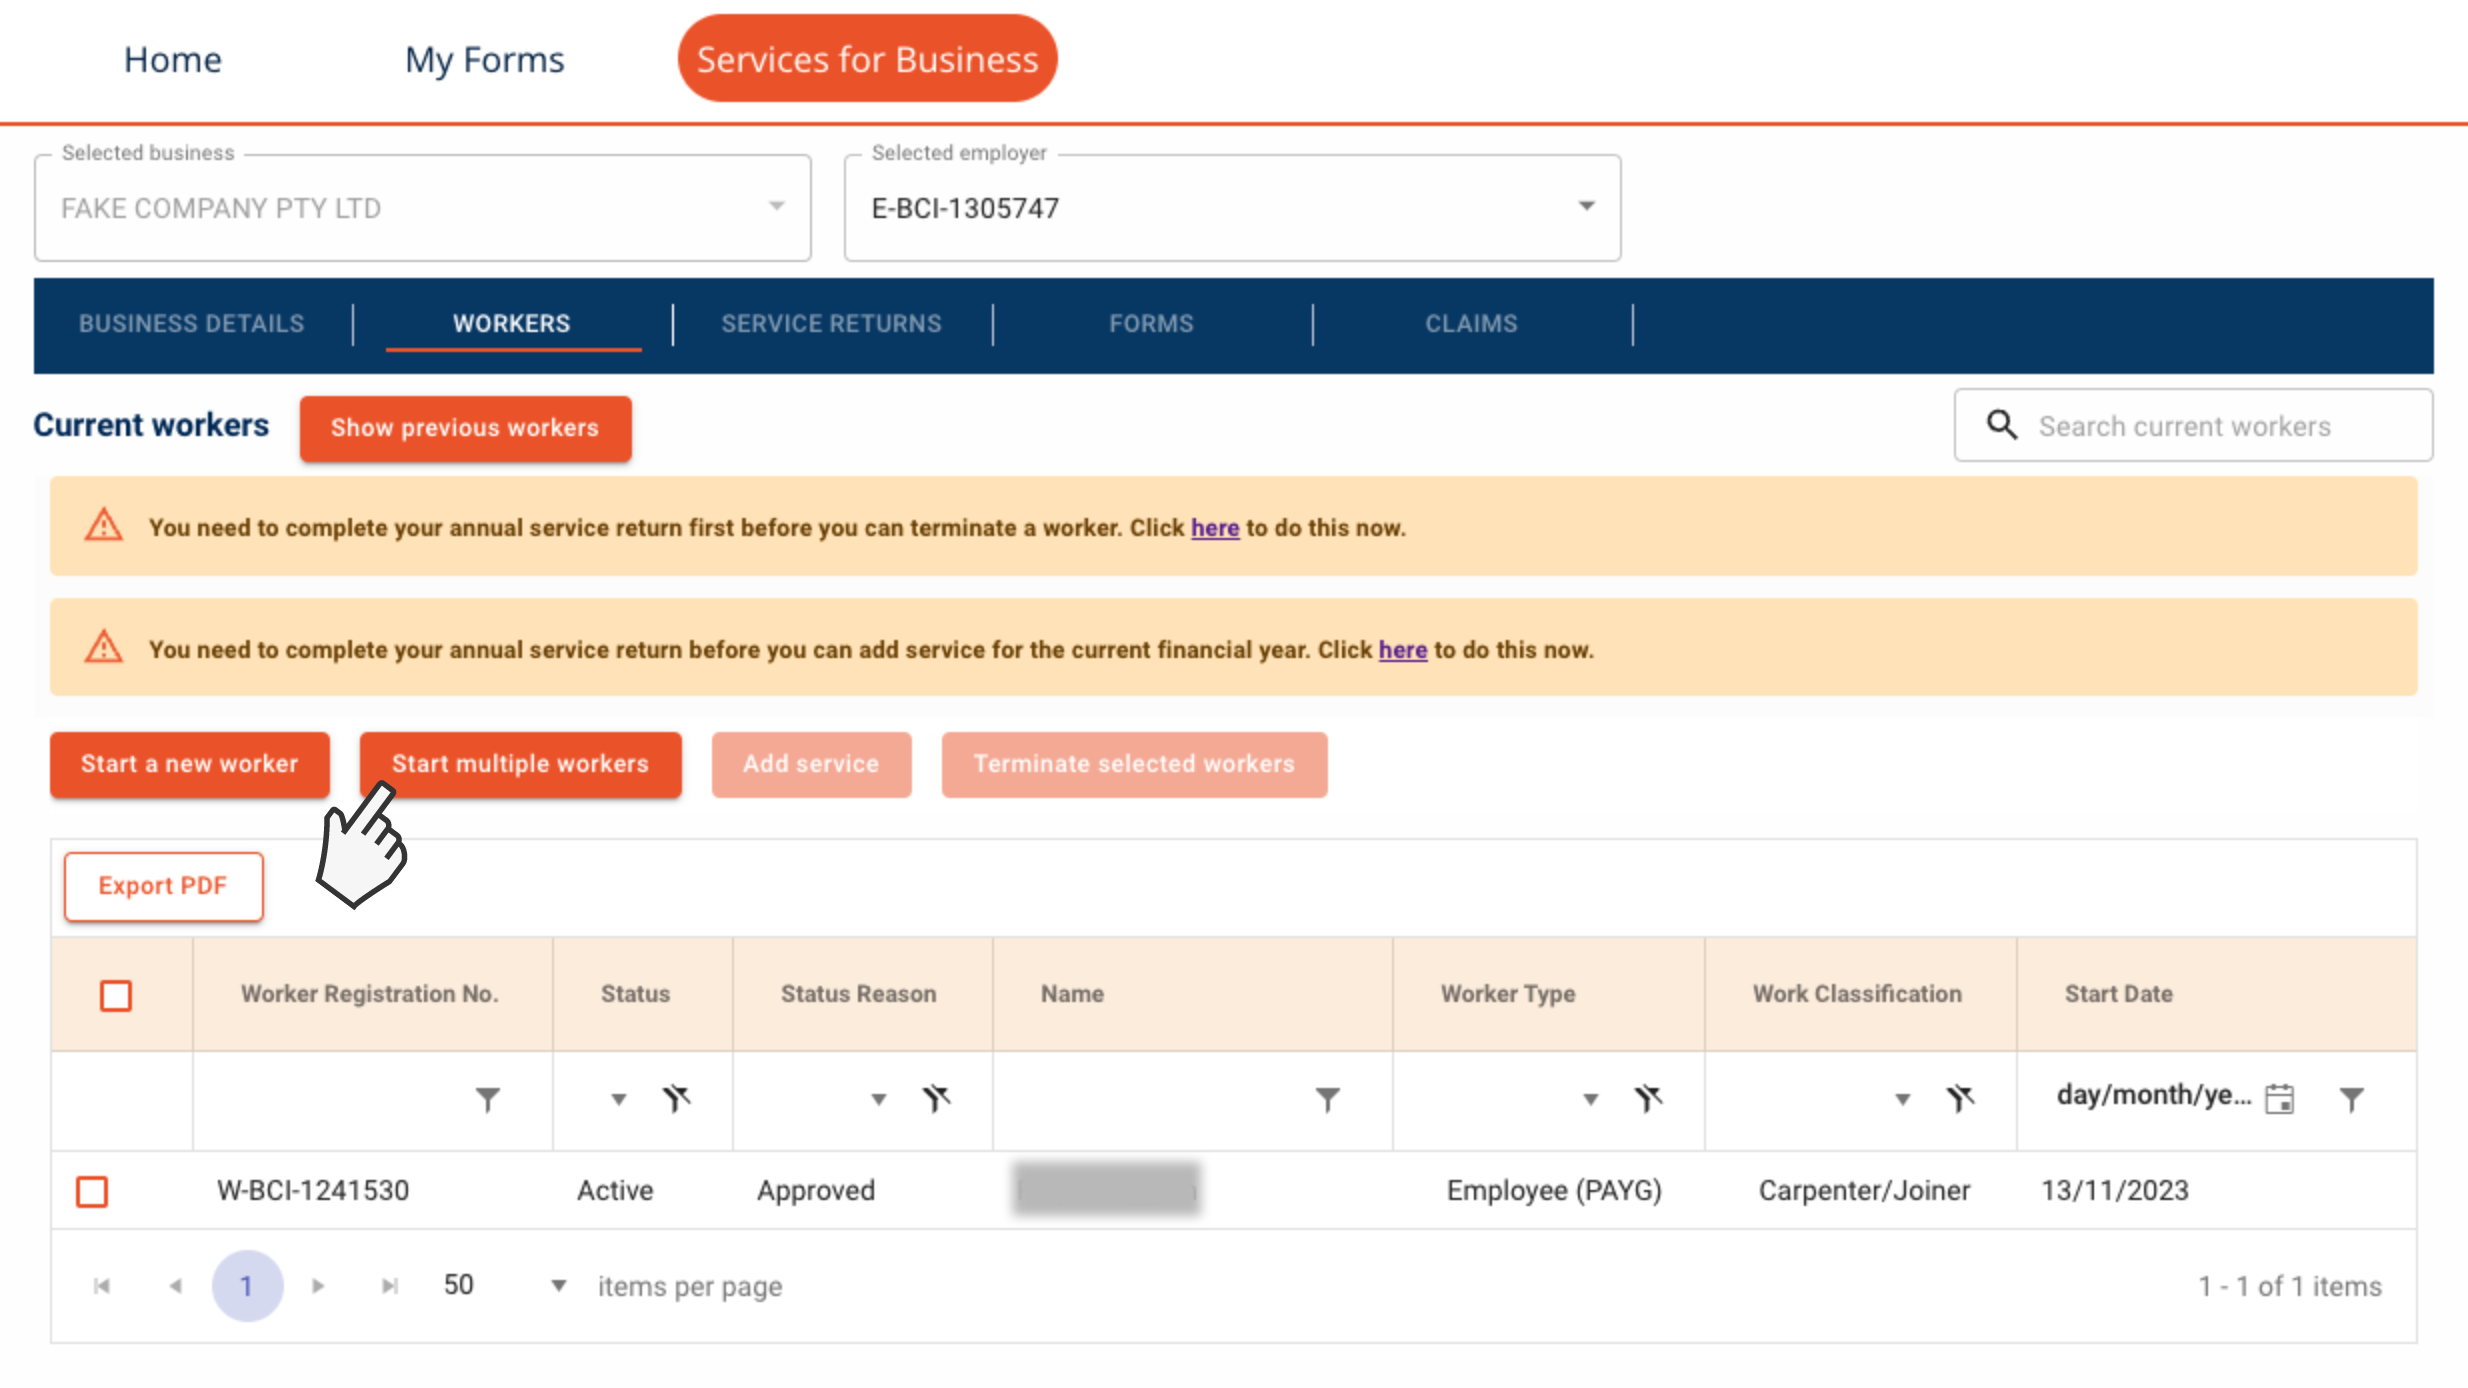
- Check that you're in the Current workers tab. You will be taken here by default after selecting Services for Business on the home page.
- Select Start multiple workers.
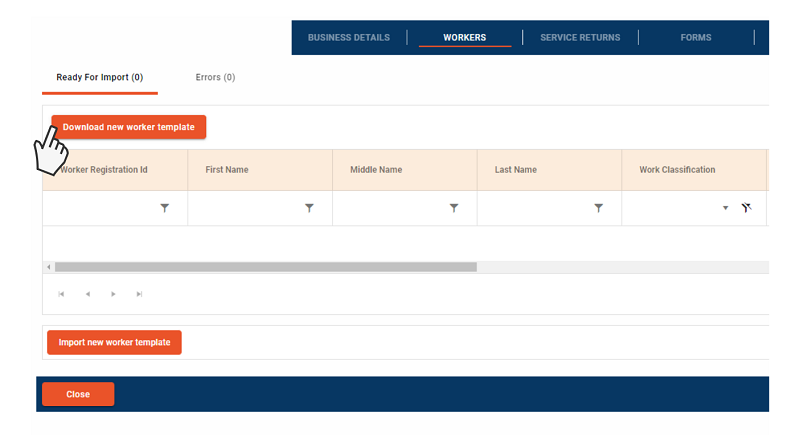
- On the next screen, click Download new worker template. This will download a spreadsheet template which you can use to add multiple new workers. Save the spreadsheet to your computer. Please save the spreadsheet with a file extension of .xls or .xlsx to ensure the file can be imported into QLeave online services once you've added details for your workers.
Complete the spreadsheet
Note: please don't make any changes to the format of the spreadsheet (e.g. deleting or changing the order of columns). If you change the format of the spreadsheet, the file may not be accepted when you import it into online services.
Please note: if you attempt to register a worker via the spreadsheet and two or more contact matches are detected, an error will appear in the errors tab when you click save. This means the worker is already registered with QLeave. If this occurs you will need to contact the worker to obtain their QLeave registration number.
In some columns you will need to select the appropriate option from a drop down list. In these columns, please select from the list instead of entering text to avoid issues when you import the completed spreadsheet.
Columns A-D
- Column A: QLeave worker registration number - enter the worker’s QLeave registration number (if known). Leave this field blank if you don’t know their registration number or they’re new to the industry.
- Column B: Work classification - select the worker’s work classification. The classifications are available by clicking the down arrow in the cell.
- Column C: (Foreperson/Supervisor/Leading hand only) Performs work and supervision - select yes or no to tell us whether the worker performs both building and cnstruction work and supervision.
- Column D: Start date - enter the worker’s start date as DD-MM-YYYY.

Columns E-G
- Column E: Full time / part time - select if the worker is full time or part time by clicking the down arrow in the cell.
- Column F: How is the worker paid - select if the worker is paid as an employee or contractor by clicking the down arrow in the cell.
- Column G: Employee type - select the type of employee they are, e.g PAYG employee or Sole Trader by clicking the down the arrow in the cell.

Columns H-J
Please note: Only fill out columns H-J if the worker is a contractor. Leave blank if none of these options apply to you.
- Column H: Worker is paid to achieve a stated result or outcome - select yes or no to tell us if the worker is paid to achieve a stated result or outcome.
- Column I: Worker provides equipment or tools as required - select yes or no to tell us if the worker provides equipment or tools as required.
- Column J: Worker is liable for cost of fixing a fault in their work - select yes or no to tell us if the worker is liable for the cost of fixing a fault in their work.

Columns K-M
- Columns K-M: Employment category - select yes or no to tell us if the worker is engaged by a labour hire agency, performs work for a federal, state or local government, or is engaged in the coal mining industry. If none of these options apply, you can also leave these fields blank.
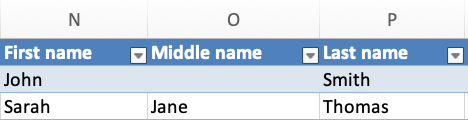
Columns N-P
- Columns N-P: Worker's name - only the worker’s first name and last name are required. Leave the middle name blank if the worker doesn’t have a middle name.

Columns Q-U
- Columns Q-S: Contact details - only the email address and mobile number are required. Leave home phone blank if the worker doesn’t have a second contact number.
- Columns T-U: Date of birth and gender - Only date of birth is required. Gender can be left blank.


Columns V-AH
- Columns V-AA: Address - enter the worker’s street address, suburb, city, state, postcode and country. Selecting the suburb from the drop-down list will automatically fill in the state and postcode cells.
- Columns AB-AH: Postal address - if the worker’s postal address is the same as their street address, select yes in column AB and leave the rest of the fields blank. If their postal address is different, select no in column AB and provide their postal address in columns AC-AH.
You can enter details for as many workers as you’d like in this spreadsheet.
Import the spreadsheet
- Once you’ve completed the spreadsheet, save it again to your computer. Go back to online services and on the same page you downloaded the spreadsheet from, click import new worker template. Browse your computer to find your completed spreadsheet and select it.
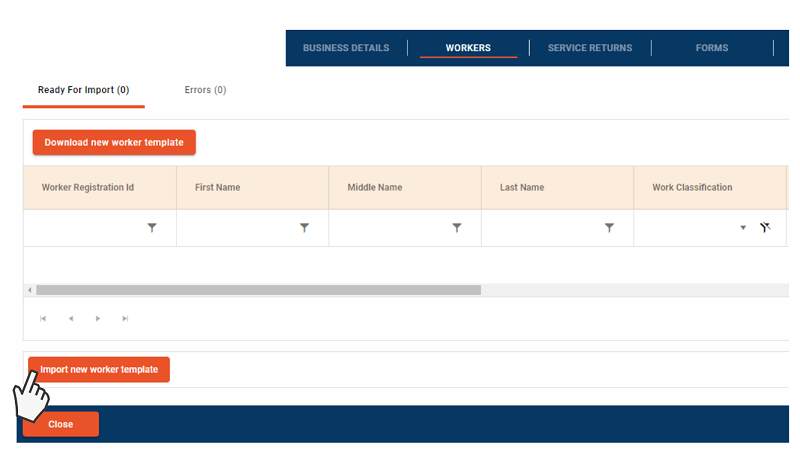

- If there are no errors, all of your workers will appear under ready to import. The number next to this heading refers to the number of workers with no errors in the spreadsheet.
- If there are errors for any workers, a number will appear next to the errors tab. Click errors to review these. The fields that contain errors will be highlighted in red. You may need to scroll across each column to find the errors. You can correct any errors by clicking into the relevant field and updating the details as required. You don't need to download the spreadsheet again.
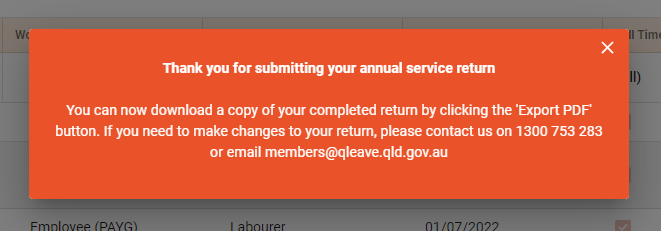
Once you've fixed all errors, click validate. If there are no more errors, all of your workers will now appear in the ready for import tab. - Check all of your workers' details are correct. If you don't need to make any further changes, click submit. If you need to change details in any of the fields, you can do this by clicking into the field and entering the correct information.
- You'll see a pop-up message thanking you for submitting your return.
If you're adding workers who have not been registered with QLeave previously, please provide them with their QLeave numbers once their registration has been approved.
You can also start workers directly within online services. Click here for instructions.